


Align Shapes Vertically / Horizontally
When creating, we usually need to align the shapes. In this article, we will show you how to do so easily by the function “Align” in the design tool of VP Online.
How To Align Shapes
After selecting more than one shapes or any other elements, the button “Align” comes out on the tool bar on the top left corner.
There are 6 choices for it. They are divided into 2 groups:
- Left | Center | Right are used to align vertically
- Top | Middle | Bottom are used to align horizontally

You may also find the same section under panel Arrange after selecting the shapes.
They have the same function with the one on the tool bar.

Tips When Aligning Shapes
When editing document, it is generally easier to align it to the left and right to look neat. However, it may be a bit different when we are creating an artwork. For example, if the shapes are in different sizes, align in the middle may be a better way for them.
Take the artworks in the video as example, we can see that even their length looks similar, their width are totally different.
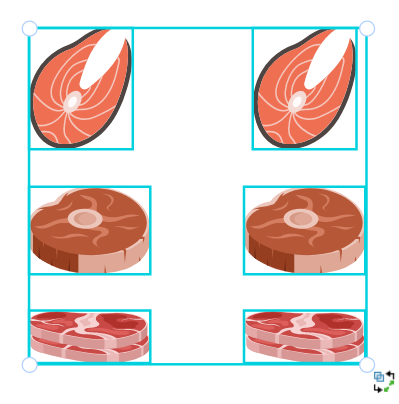
By comparing the results of aligning on the left and in the middle, we can find that the space between artworks and texts are different.
In this case, aligning them in the middle will be a better choice.
Different design will have different ways of alignment. Let’s test which one is better and pick it for your design!
This post is also available in Deutsche, Español, فارسی, Français, English, Bahasa Indonesia, 日本語, Polski, Portuguese, Ру́сский, Việt Nam, 简体中文 and 繁體中文.
