


Create a new layer
You can use layers to add elements to your design and make them interactive. A layer can help you design more easy to organize your design element.
Create a new layer
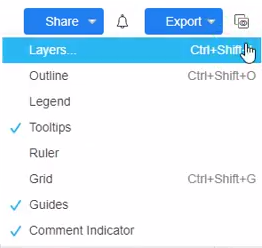
- When editing your design, you can go to View, Layers to bring up the layer window. Or you can press Ctrl+Shift+L / Cmd+Shift+L to display or hide the layers window.
Tip:
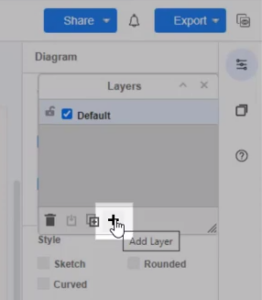
By default, a new design has a single Background layer, to which all shapes, connectors, and text are added. - You can then press the plus(+) icon to create a new layer
Tips:
To add elements to your layer, make sure you have selected them in the Layers dialog.
Newly created elements will be added to the active layer, which shows in highlighted color.
Rename a new layer
You can double-click the layer to rename it.
Double click on a layer, enter the new layer’s name in the text field, then click Rename.

Move elements to your desired layer
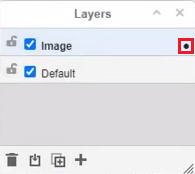
You can also move existing elements to your new layer. The little dot in the layer indicates your current selected element is in this layer.
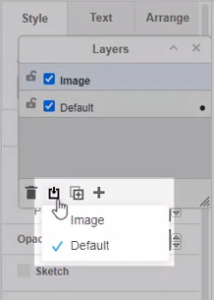
You can select elements, then press the move select button, to move them to your desired layer.
Hide Layer
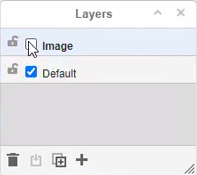
You can try to hide a layer to hide the element on the selected layer.
Click the button near the name of the layer, uncheck the tick button to hide or unhide the layer.
Remove an existing layer
Important:
Make sure you have moved the elements you want to keep in your design to another layer before you delete it. Removing a layer also removes all of its contents.
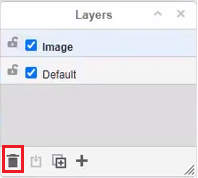
- In the Layers window, click on the layer you want to delete so that it is highlighted blue.
- Click on Remove (rubbish bin) at the bottom left of the Layers dialog.
This post is also available in Deutsche, Español, فارسی, Français, English, Bahasa Indonesia, 日本語, Polski, Portuguese, Ру́сский, Việt Nam, 简体中文 and 繁體中文.
