


Enhance Your Visuals with Custom Characters in VP Animated Explainer
Visual content is a powerful tool in today’s digital world. Whether you’re creating educational videos, product demonstrations, or any other type of content, incorporating characters can significantly enhance the viewer experience. In this blog post, we’ll guide you through the process of inserting and customizing characters in Visual Paradigm Animated Explainer. This feature allows you to add a dynamic element to your videos, making them more engaging and informative.

How to Create Character in Video
Inserting Characters:
Let’s start with the basics. To insert characters into your VP Animated Explainer video, follow these steps:
- Access the Character Menu: When editing your video, look to the left-hand side toolbar and select the “Characters” option.
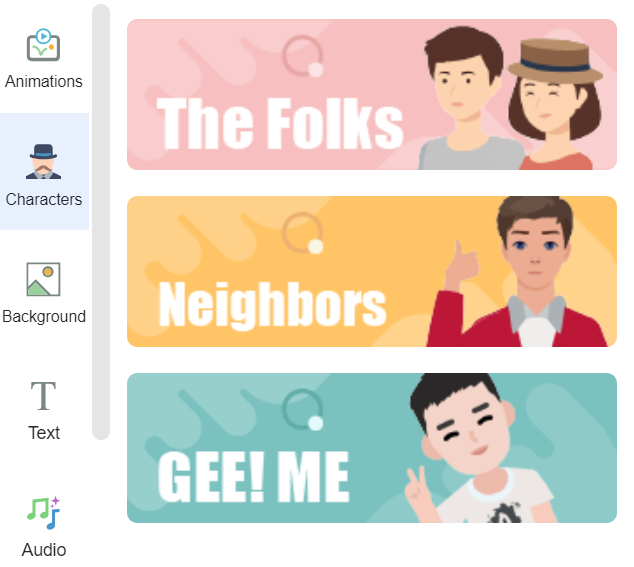
- Choose Character Style: Visual Paradigm offers a variety of character styles to choose from. Select the one that aligns best with your video’s theme and message.
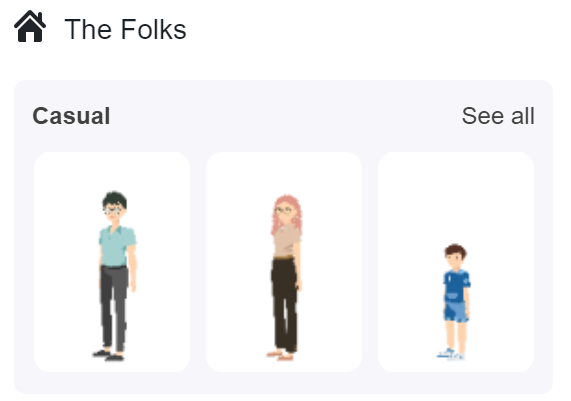
- Organized Categories: Characters are thoughtfully categorized, making it easy to find the perfect character for your video’s context.
- Drag and Drop: Once you’ve found the character you want, simply drag it into your video canvas. You have the freedom to place it anywhere within the frame.
Customizing Characters:
Now, let’s dive into customizing your characters for a unique touch:
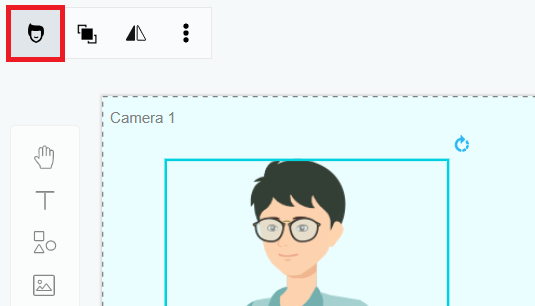
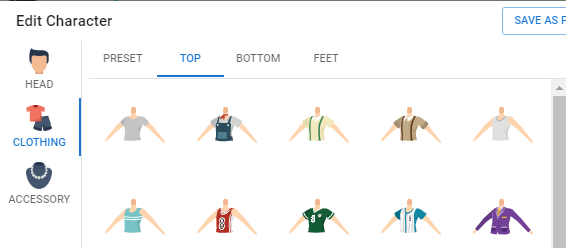
- Access the Edit Character Menu: Click on the character you’ve inserted to open the “Edit Character” dialog.
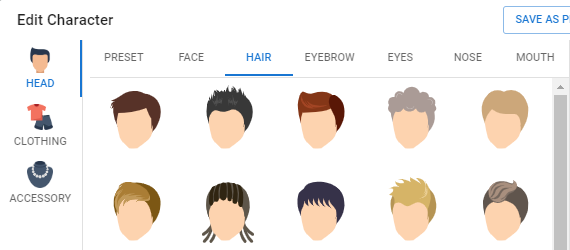
- Adjust Facial Features: Visual Paradigm allows you to specify various facial features such as face shape, hairstyle, eyebrows, eyes, nose, and mouth. Customize these features to give your character a unique look that suits your video’s narrative.
- Clothing and Accessories: You can also specify the character’s clothing, shoes, and accessories. This level of customization ensures that the character perfectly aligns with your video’s message and style.
- Resizing and Positioning: Full control over the character’s size and position within the video frame is at your fingertips. Resize and reposition the character as needed to achieve the desired visual impact.
- Save Your Changes: Once you’ve tailored the character to your satisfaction, don’t forget to click the “Save” button in the top right corner of the dialog. This action confirms the changes you’ve made.
By following these straightforward steps, you can easily insert and customize characters in Visual Paradigm Animated Explainer. These customizable characters have the potential to take your videos to the next level, making them more engaging and effective in conveying your message.
Whether you’re a content creator, educator, or business professional, harness the power of characters in your videos and unlock a whole new world of visual storytelling. Experiment with different character styles and customizations to make your videos stand out and captivate your audience. Visual Paradigm Animated Explainer empowers you to bring your ideas to life with creativity and precision.
Try it today and elevate your video content to new heights!
This post is also available in Deutsche, Español, فارسی, Français, English, Bahasa Indonesia, 日本語, Polski, Portuguese, Ру́сский, Việt Nam, 简体中文 and 繁體中文.
