


How to Create Timeline using Visual Paradigm Smart Board
Visual Paradigm Smart Board is a versatile software tool that allows users to create visually stunning timelines. Whether you’re planning a project, documenting historical events, or showcasing a personal journey, Visual Paradigm Smart Board provides a user-friendly interface and powerful features to help you effortlessly create captivating timelines. With its intuitive drag-and-drop functionality and customizable options, you can easily add events, dates, and additional information to your timeline.
Visual Paradigm Smart Board also offers various formatting and styling options, allowing you to customize the appearance of your timeline to match your preferences. Once you’ve created your timeline, you can export it as an image file, making it easy to share your work with others. With Visual Paradigm Smart Board, you can bring your timelines to life and effectively communicate your ideas and stories.
Creating a timeline using Visual Paradigm Smart Board is a straightforward and intuitive process. By following the steps below, you can create a visually captivating timeline that effectively communicates your ideas and stories.
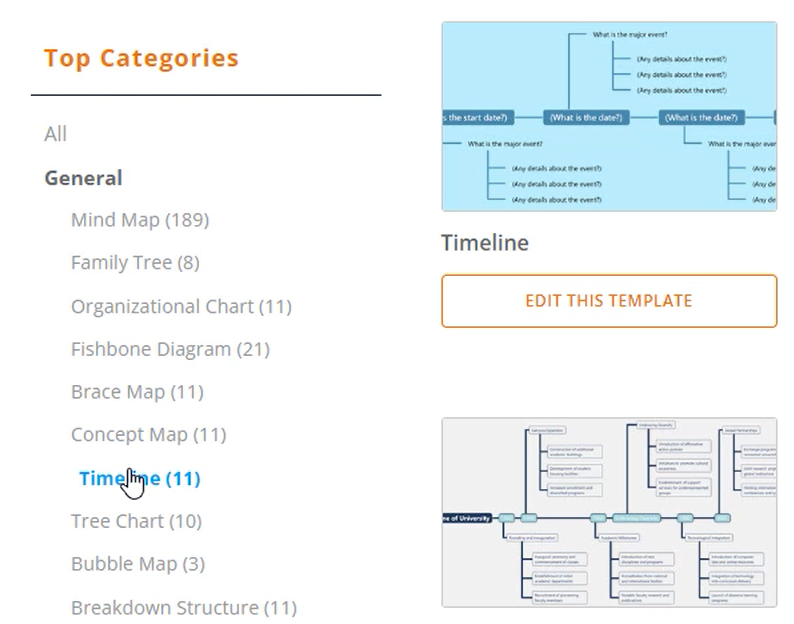
Select the Timeline Template
To begin, launch Visual Paradigm Smart Board on your device and navigate to your workspace. Once you’re in the application, click on the “SmartBoard” tab located in the toolbar. From the available templates, select the “Timeline” option. This will open a new timeline diagram, ready for customization.
Edit the Text Content
Now it’s time to edit the text content of your timeline. Each node represents an event or milestone, and you can easily customize them to suit your needs. Simply click on a node to select it, and then double-click on the text to edit it. Enter the relevant information, such as event names, dates, descriptions, or any other details you want to include.

Add More Nodes
If the existing nodes are not enough to accommodate all of your content, don’t worry. Visual Paradigm Smart Board allows you to add more nodes effortlessly. To do so, click on the “Add Node” button in the toolbar. You can also use the Enter key to insert a sibling node or the Tab key to insert a child node, providing a hierarchical structure to your timeline.
Customize the Appearance
To enhance the visual presentation of your timeline, take advantage of the customization options available in Visual Paradigm Smart Board. You can change the colors, fonts, and styles of the nodes and connectors to create a visually appealing timeline that matches your preferences and the overall theme of your project.
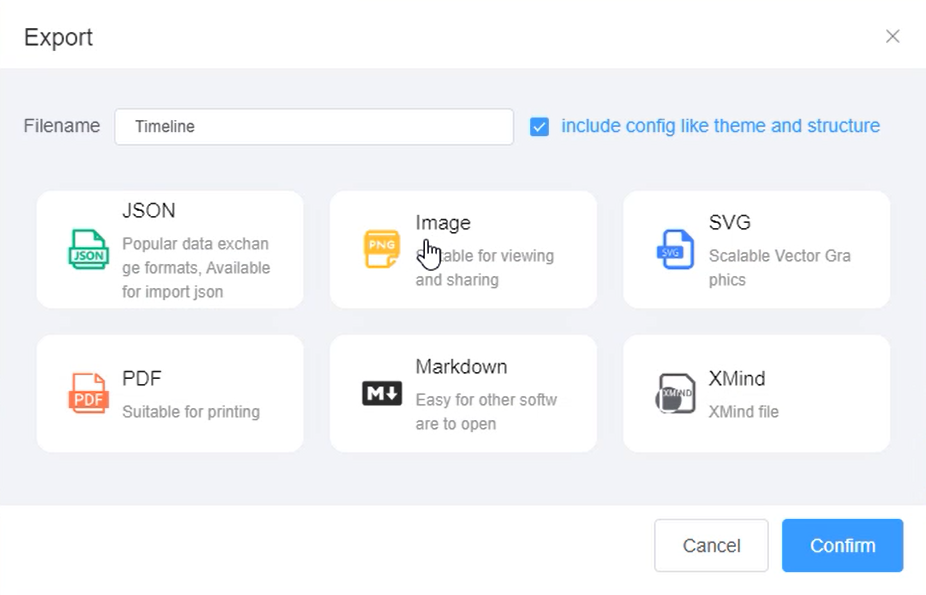
Export the Timeline
Once you have finished creating and customizing your timeline, it’s time to share it with others or save it for future reference. Visual Paradigm Smart Board offers an export feature that allows you to save your timeline as an image file. Simply select the “Export” option from the menu, choose the desired image format (such as PNG), and specify the file location where you want to save the timeline. Click “Save” or “Confirm” to export the timeline, and it will be saved as an image file ready for sharing or printing.
With Visual Paradigm Smart Board, you have a powerful and user-friendly tool at your disposal to create captivating timelines. By following these steps, you can easily create, customize, and share timelines that effectively communicate your ideas, whether you’re planning projects, documenting historical events, or showcasing personal journeys.
This post is also available in Deutsche, Español, فارسی, Français, English, Bahasa Indonesia, 日本語, Polski, Portuguese, Ру́сский, Việt Nam, 简体中文 and 繁體中文.
