


How to Add Ending Pause to a Scene
Every moment in a video counts, and timing is a key element in engaging storytelling. In the world of video production, controlling the timing and pauses between scenes is an art form, and it’s essential for maintaining viewer engagement. In this guide, we’ll explore how to adding an ending pause to your scenes in VP Animated Explainer.

Importance of Time Controlling
Controlling the timing between scenes is not just about adding pauses. it is about creating an immersive, engaging, and professional video experience. It allows you to dictate the narrative rhythm, enhance viewer comprehension, and emphasize critical content, all while keeping your audience connected and captivated.
- Narrative Rhythm: The timing between scenes influences the rhythm of your video. Whether you’re crafting an engaging story or delivering informative content, the pacing sets the mood and tone. By adding pauses strategically, you can punctuate your video with moments that allow viewers to absorb and reflect on the information presented.
- Emphasis and Impact: Controlling the pause between scenes lets you emphasize key points or actions. It allows you to give viewers time to focus on essential details and increases the impact of the content. Pauses can be used to build anticipation, create suspense, or highlight significant messages.
- Viewer Engagement: Well-timed scene transitions keep viewers engaged. By adding a brief pause at the end of a scene, you prevent the video from feeling rushed and overwhelming. This keeps viewers invested in your content and encourages them to watch further.
- Brand Consistency: Consistent timing and pacing are vital for maintaining brand consistency. By ensuring that all your videos follow a uniform timing structure, you reinforce your brand’s identity and style.
Add Ending Pause to a Scene
By default, the length of the scene is subject to the element’s duration in timeline..
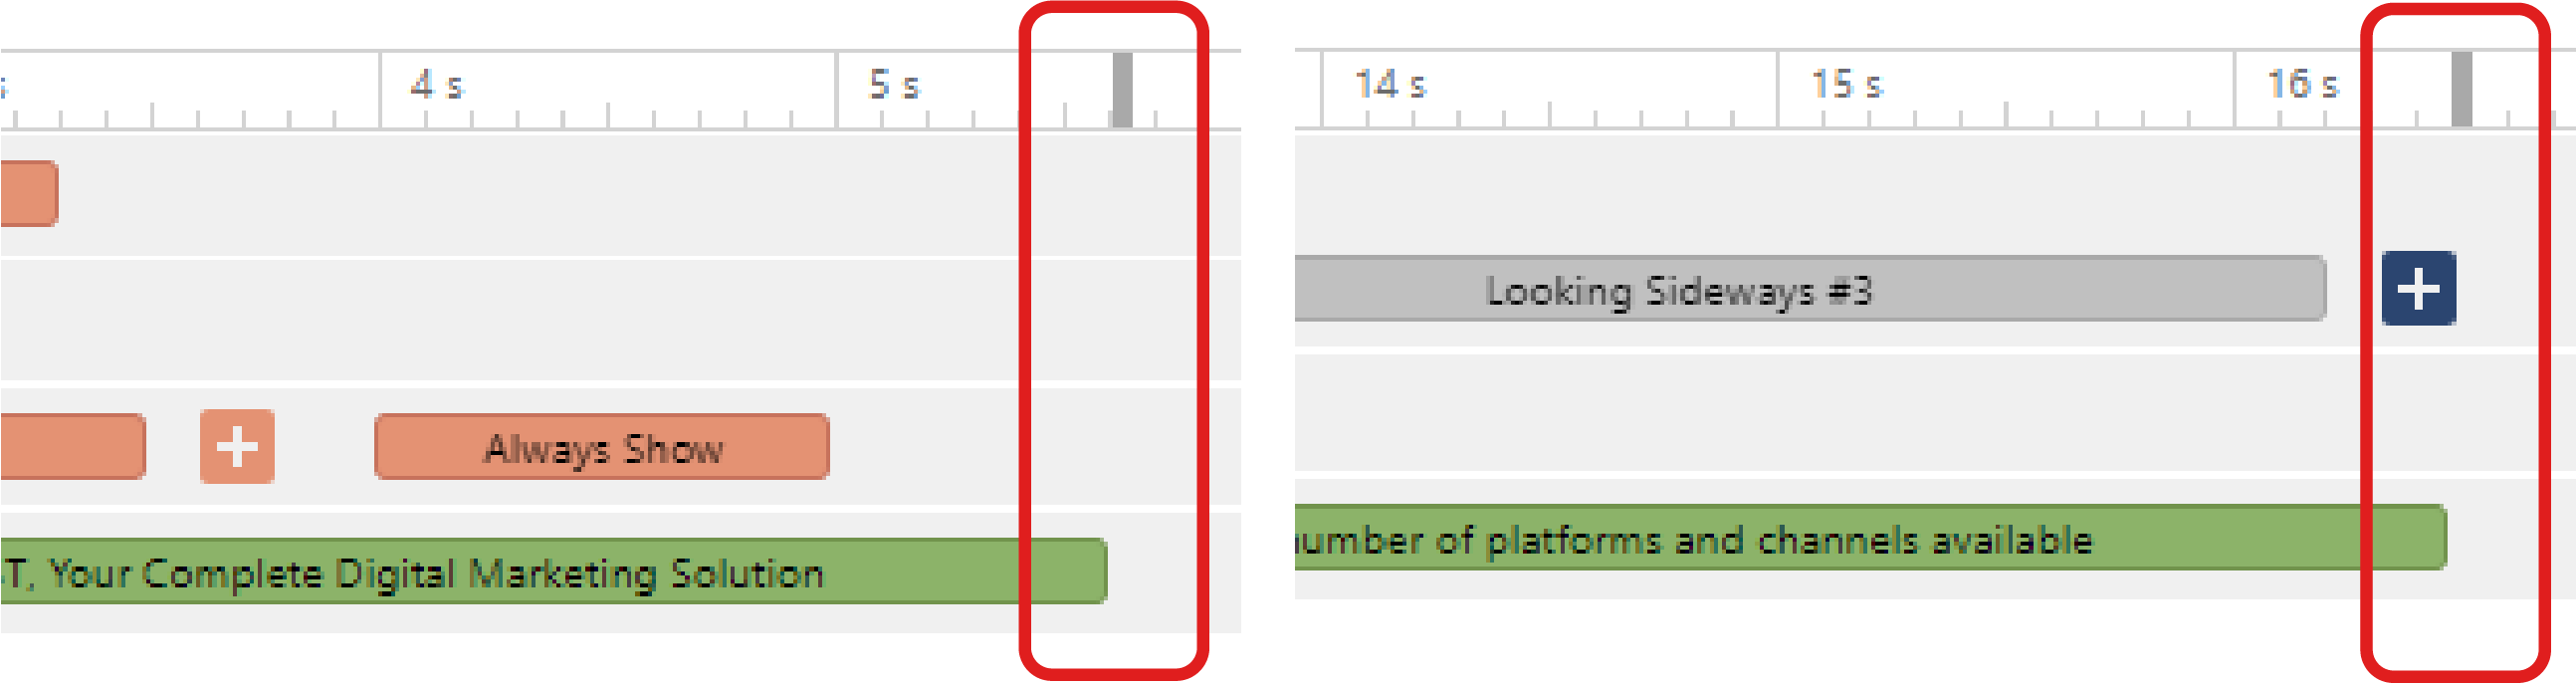
You can drag the mark at the end of the timeline to control the ending pause of the scene. Now The scene will then pause with the specified time before moving to next scene.
Adding Transition to the Scenes
In addition to fine-tuning the ending pause of scenes, another valuable technique for enhancing the viewer’s video-watching experience is the seamless addition of transitions between scenes. These transitions serve as the connective tissue between different segments of your video, ensuring a smooth, visually appealing, and engaging journey for your audience. By incorporating transitions, you guide viewers through your content in a way that feels cohesive, visually stimulating, and professionally crafted.
Transitions play a multifaceted role in video production, bringing various benefits to the table:
- Continuity: Transitions bridge the gap between scenes, maintaining visual and narrative continuity. They prevent abrupt or jarring shifts, ensuring that viewers can follow the progression of your video effortlessly.
- Enhanced Engagement: Well-chosen transitions captivate the audience by adding visual interest and a sense of progression. This engagement is vital for retaining viewers’ attention and creating a memorable viewing experience.
- Visual Appeal: Transitions contribute to the overall aesthetics of your video. They infuse it with style, elegance, and professionalism, elevating its visual appeal and reinforcing your brand’s image.
- Storytelling Support: Transitions can be used to emphasize specific points or actions, enhancing the storytelling aspect of your video. They help structure the narrative and highlight key moments, making your content more compelling.
- Emotional Impact: Specific transitions can convey different emotions or moods, adding depth to your video. Whether you’re aiming to evoke excitement, curiosity, or a sense of closure, transitions can be a powerful tool in achieving these emotional goals.
Read More: How to Specify Transition Between Scene
This post is also available in Deutsche, Español, فارسی, Français, English, Bahasa Indonesia, 日本語, Polski, Portuguese, Ру́сский, Việt Nam, 简体中文 and 繁體中文.
