How to Create Family Tree using Visual Paradigm Smart Board
Visual Paradigm Smart Board is a versatile and user-friendly software tool designed to assist users in creating various visual diagrams, including family trees. It offers a range of features and functionalities specifically tailored for collaborative diagramming, making it an excellent choice for creating and sharing family trees.
With Visual Paradigm Smart Board, users can easily create and customize their family trees by adding nodes to represent family members and connectors to illustrate relationships. The software provides a wide array of customization options for nodes and connectors, allowing users to personalize the appearance of their family trees.
One of the key strengths of Visual Paradigm Smart Board is its intuitive interface, which makes it easy for users to navigate and work with the software. It offers a drag-and-drop functionality that simplifies the process of arranging and organizing nodes, connectors, and other elements within the family tree diagram.
Additionally, Visual Paradigm Smart Board supports collaboration and sharing capabilities. Users can collaborate with others in real-time, allowing multiple family members to contribute to the family tree project simultaneously. The software also enables users to share their family trees online, making it convenient for family members to access and view the diagram remotely.
Creating a family tree using Visual Paradigm Smart Board can be a straightforward and efficient way to visually represent your family’s relationships and genealogy. Here are the steps to help you get started:
Create a new family tree
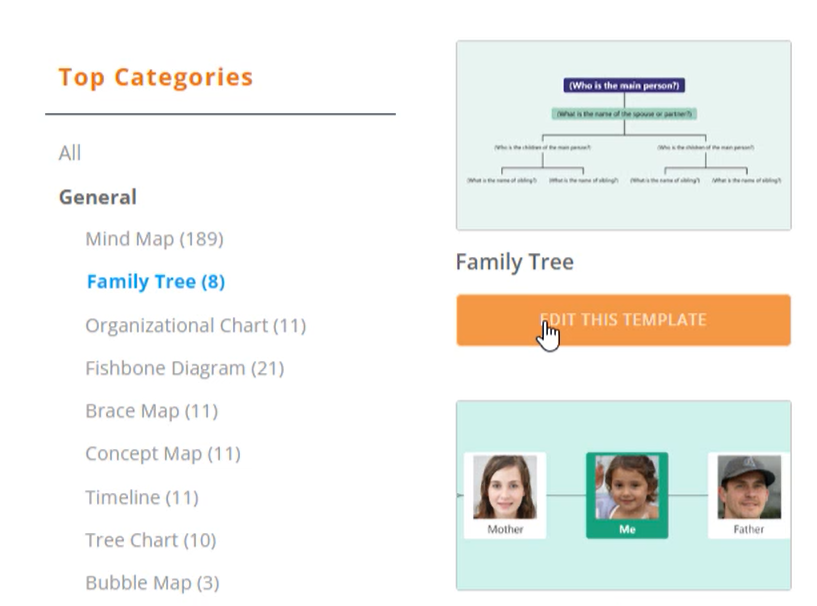
Click on the “Create New” button or go to the “File” menu and select “New” to start a new project. Then choose the “Family Tree” option from the available templates.

Edit the text content
Customize the family tree by editing the text content of each node. Click on a node to select it, then double-click on the text to edit it. Enter the names of your family members and any other relevant information.

Delete unnecessary nodes
If there are extra nodes in your family tree, you can remove them by right-clicking on the node and selecting “Delete Node” from the context menu. To delete multiple nodes at once, hold the Ctrl key while selecting the nodes and press the Delete button.
Incorporate images
To add photos to your family tree, select the desired node and click on the “Image” button in the toolbar. Upload the photo you want to use and click “Confirm” to apply it to the node. Repeat this process for each node you want to add an image to.

Customize the appearance
Visual Paradigm Smart Board provides various customization options to enhance the visual appeal of your family tree. You can change the colors, fonts, and styles of the nodes and connectors to match your preferences.
Export the family tree
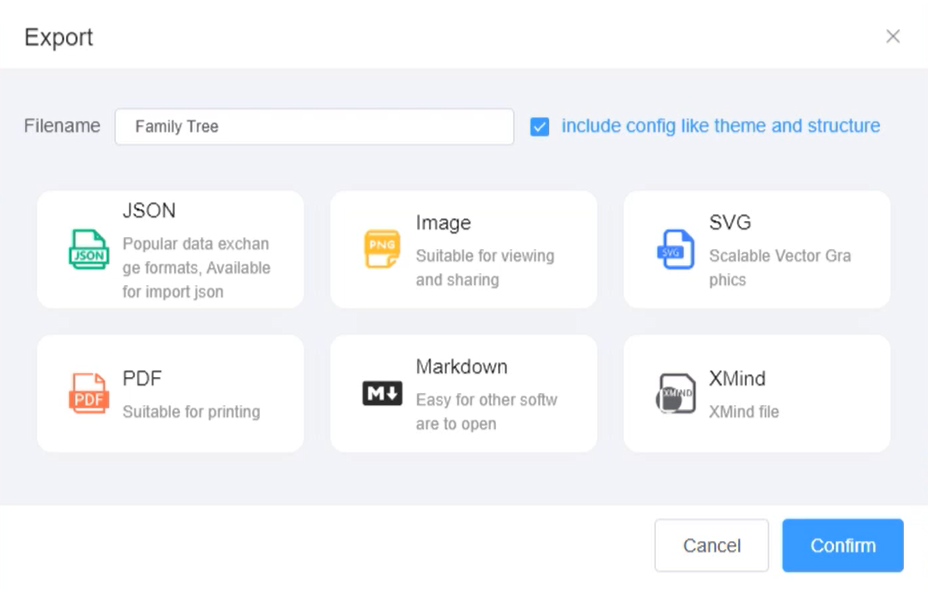
Once you have finished creating and customizing your family tree, select the “Export” option from the menu. Choose the image format (e.g., PNG) and specify the file location where you want to save the family tree. Click “Save” to export the family tree as an image file.

By following these steps, you can create a visually appealing and informative family tree using Visual Paradigm Smart Board. It’s a powerful tool that can help you preserve your family’s history and relationships in a clear and engaging way.
This post is also available in Deutsche, English, Español, فارسی, Français, Bahasa Indonesia, 日本語, Polski, Portuguese, Ру́сский, Việt Nam, 简体中文 and 繁體中文.


