Specify contact info for your flipbook
Create a flipbook easily with Visual Paradigm Online, you create your own flipbook or conversion documents to flipbook in Fliplify. After an online flipbook is created, we can share it with others. You can add a contacts button to your flipbook when you share your flipbook. In this video, you can see how to specify contact info for your flipbook in VP Online.
In VP Online, you can add a contacts button to your flipbook.
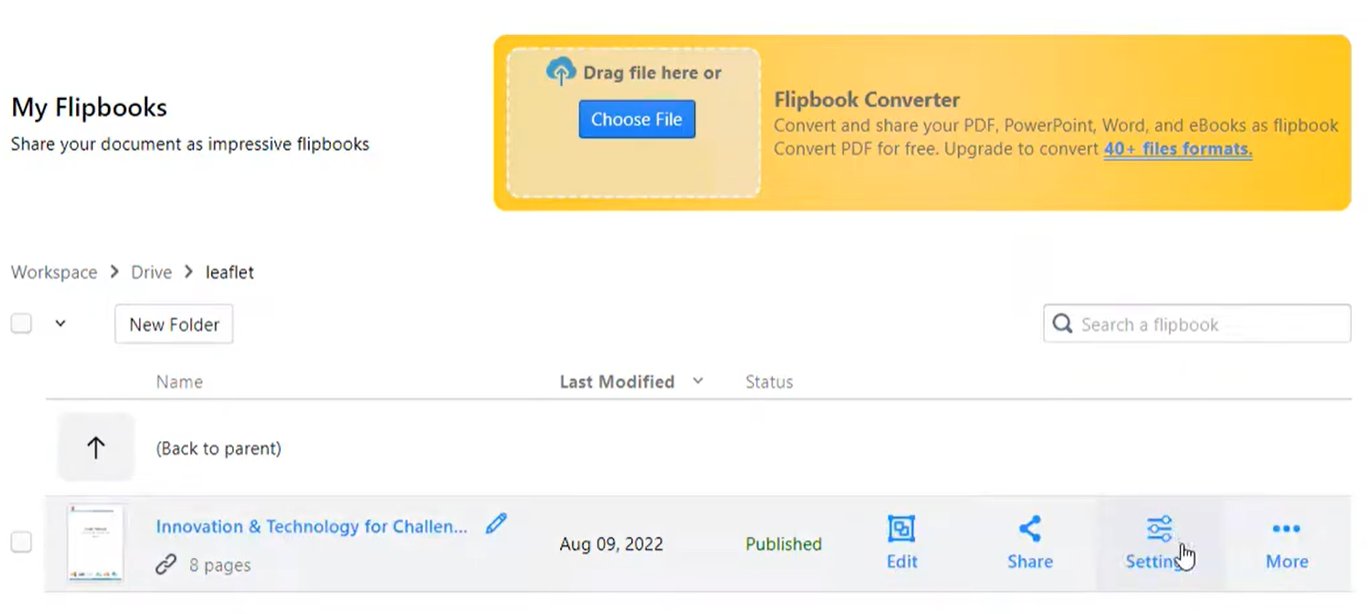
- Mouse over your flipbook that you want to specify the background and select “Settings” on your Workspace, My Flipbooks > Drive.
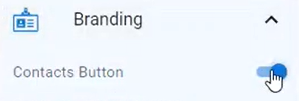
- Select Branding, and switch on the Contacts button.
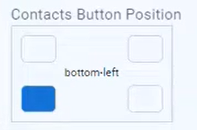
- You can specify the position of the contacts button in your flipbook viewer on the Contacts Button Position, you can choose the bottom left, bottom right, top left, or top right.
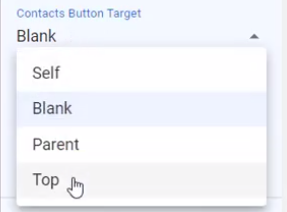
- Specify the contacts link to be open in the current window, or a new browser window on the Contacts Button Target panel.
- You can also adjust the caption of the button on the Contacts Button Text textbox, and specify the URL on the Contacts Button URL textbox.
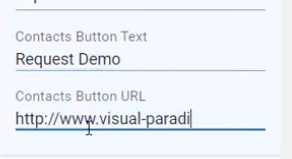
- Press the Finish button in the settings dialog to save the change, and now the flipbook got the contacts button showing. Click on it will jump to your specified page.

This post is also available in Deutsche, English, Español, فارسی, Français, Bahasa Indonesia, 日本語, Polski, Portuguese, Ру́сский, Việt Nam, 简体中文 and 繁體中文.


