Home » Graphic Design » Page 52
https://www.youtube.com/watch?v=Wm77QROrJyA&width=854&height=480 In Visual Paradigm, you can create your own account for designing your work and save those work in your account for free. You can sign up for an account and set up your account with your email and password. Sometimes, you may want to change the passwords regularly for security. This is a fast tutorial for teaching you how to change the password of your Visual Paradigm account with a few steps. 1. You can first click on the circle icon of your profile image on the top right corner of your…
continue reading →
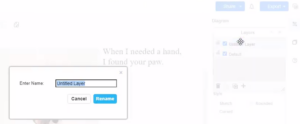
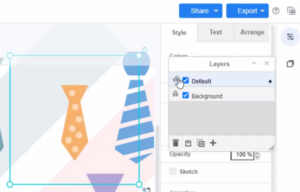
You can use layers to add elements to your design and make them interactive. A layer can help you design more easy to organize your design element. https://www.youtube.com/watch?v=jG02apTVsdU&width=854&height=480 Create a new layer When editing your design, you can go to View, Layers to bring up the layer window. Or you can press Ctrl+Shift+L / Cmd+Shift+L to display or hide the layers window. Tip: By default, a new design has a single Background layer, to which all shapes, connectors, and text are added. You can then press the plus(+) icon to create a new…
continue reading →
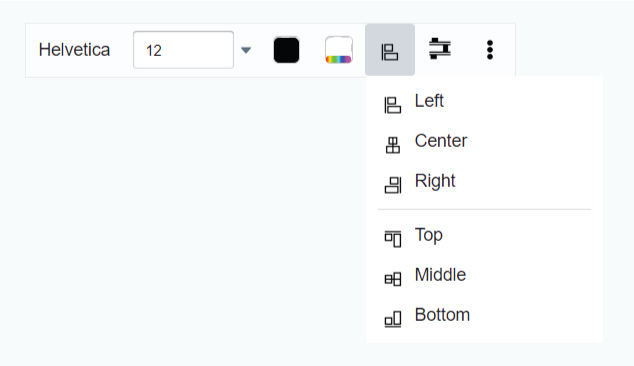
When creating, we usually need to align the shapes. In this article, we will show you how to do so easily by the function "Align" in the design tool of VP Online. https://www.youtube.com/watch?v=6ICv7IZhDz4&width=854&height=480 How To Align Shapes After selecting more than one shapes or any other elements, the button "Align" comes out on the tool bar on the top left corner. There are 6 choices for it. They are divided into 2 groups: Left | Center | Right are used to align vertically Top | Middle | Bottom are used to align horizontally…
continue reading →
When exporting the design, there is a default size for different categories. In case you need to print in or display in a large scale, you need a better quality for the images. Set the Scale of the design for Hi-resolution images. https://www.youtube.com/watch?v=TZIvqa2Uk0s&width=854&height=480 How To Export Drawings to High-resolution Images Steps To Change The Scale And Save After finishing the design, go to the top right corner and click "Export". Both the JPG and PNG are able to edit the scale. The default scale of the image is in 100%. Edit it to…
continue reading →
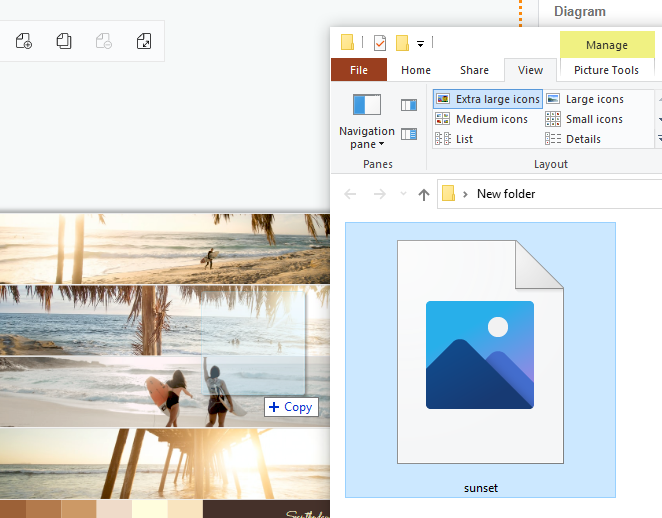
After a having a good day with your family, you may want to import your photo into the flipbook or into a collage which is great! No one wants to spend a great deal of time process that steps. In this video, you will understand the simplicity in adding your own photo to your design. There are two methods to imports your photos; The first method would be more suitable to adding photo for a single frame, while if your would like to add in many photo at once you maybe choose the…
continue reading →
https://www.youtube.com/watch?v=0GW3aegZrFg&feature=youtu.be&width=854&height=480 In Visual Paradigm Online, you can create your own account for designing any kind of graphics. For this personal account, you can set up your email address and account name. You can even personalize your account by setting up profile image by yourself. The image that you uploaded for your account can be shown in various places like the Visual Paradigm flipbook library. It will also be your logo when you are establishing a collaboration session and communicating in Tasifier. This is an easy tutorial for you to change the profile…
continue reading →
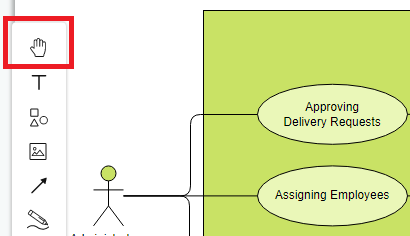
When you are working on a MASSIVE project, you will need look at every aspect in your project. Therefore, it is essential to pan in the canva all the time. In this video, we will be going through the two methods in panning. Method 1 (Click On The Pan Handle): Click on the "Palm" button on your left panel Casually click on your canva and drag to your desire positon Make sure to "unclick" the "Palm" afterward Method 2 (Press Your Keyboard): Press Ctrl on your keyboard and click on the canva simultaneously…
continue reading →
Your design pages can be resized by dragging the page tool button grab handles on their perimeter, or by selecting/ entering an exact size in the Diagram tab of the format panel. https://www.youtube.com/watch?v=F6I9DEkz_-g&width=854&height=480 When editing your design, you can click on the tool button at the top right, open the page tool. After that, you can select Page Resizer to show the handles on the page's outer perimeter. You can use the handle at the bottom and right side of the document to resize your page. Select the handles on the page's outer…
continue reading →
If your design works are organized into different layers, you can try to lock the layer to avoid unintended modifications. https://www.youtube.com/watch?v=ipiY7edjorU&width=854&height=480 Lock layers to prevent changes Locking a layer means you cannot make any changes to it - you can’t add, move, edit, stye or delete the shapes and connectors placed on that layer. When editing your design, you can go to View, Layers to bring up the layer window. Or you can press Ctrl+Shift+L / Cmd+Shift+L to display or hide the layers window. In the Layers window, click on the padlock icon…
continue reading →
When editing a diagram in Visual Paradigm, you can replace an element with another one, without re-creating its content. https://www.youtube.com/watch?v=y-8wmF8zCYs&width=854&height=480 Replace a single shape Select a new element from the palette, and drag it over an existing element in your diagram. Hover over the existing shape you want to replace in your diagram until the replace icon appears, then drop your shape to replace it with your selected element. Replace multiple shapes Select all the shapes you want to replace. Select a new element from the palette, and drag it over one of…
continue reading →


