Home » Archives for vpwing » Page 19
After creating a flipbook in the flipbook maker, do you want to share it in other social media? If we leave the website, can we still show it as a Flipbook? Yes, we can. Fliplify support embedding the flipbook as coding. We can embed it in other website including blogger. https://www.youtube.com/watch?v=tHUCNsE9oag&width=854&height=480 How To Embed A Flipbook In Blogger What is Blogger Blogger is a online content management system for blogs. It is now owned by Google, providing hosting of the blogs, then users can create and manage their own blogs through Blogger. Blogger…
continue reading →
-
Posted on April 19, 2022
-
/Under Diagram
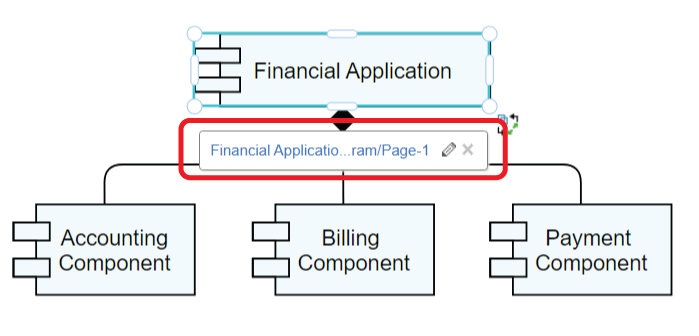
When creating diagram, we sometimes may need to explain the elements by another diagram. In this case, we can add a link to that element so that others can click and read another diagram if they need. https://www.youtube.com/watch?v=75xLKUS3pNo&width=854&height=480 How To Link An Element To Another Diagram After selecting the element, click "Edit Link" under Panel-Arrange. You can also do it by pressing [ Alt + Shift + L ]. You can then link it with other links by 2 ways: Directly enter the link of the diagram page. You can also link to…
continue reading →
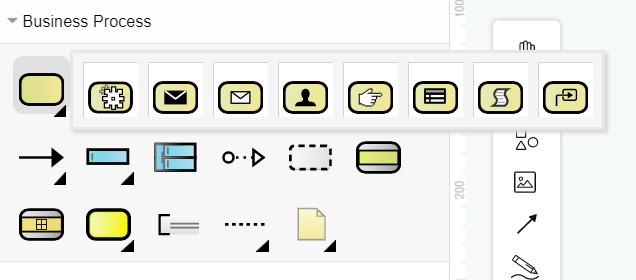
When creating a diagram, there are usually different types for the elements. Specifying the type of it can helps us to display the diagram in a better way. https://www.youtube.com/watch?v=RkkIadN32O4&width=854&height=480 How To Specify The Task Type Take business process diagram as example. After selecting the task or a sub-process, we can see Type under Panel-Style. The default type of the task is "Unspecified". All choices there are the type of the selected task. After changing the type, the outlook of the task will also change according to the choice. Another Way To Specify The…
continue reading →
-
Posted on April 19, 2022
-
/Under Diagram
When we are reading a diagram, we may be confused about what the content is about, and also which class are they belonged to. In this case, we can choose to add sterepotype on it. In this article, you will know how we can do it. https://www.youtube.com/watch?v=Ou1HVaEOEq8&width=854&height=480 How To Specify A Stereotype The stereotype is usually placed in the front of the name caption. If we want to place them into different lines to make them clearer, we can enter [Shift+Enter] to insert a line break. Then stereotype help to clearly the class…
continue reading →
-
Posted on April 19, 2022
-
/Under Diagram
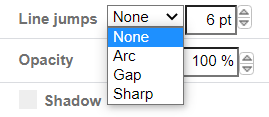
When we are creating complicated diagram, there are lots of connectors and they will overlap each other. One of the ways to make them looks clearer is to set the line jumps for them. https://www.youtube.com/watch?v=movC-r9TKV8&width=854&height=480 How To Set The Line Jump Style Of A Connector Why We Need This Function As the connectors are usually lines, when they are overlapping, it is not easy for us to define which points they are belonged to. Especially for the case that several connectors are going to the same point, we may then misunderstanding the diagram…
continue reading →
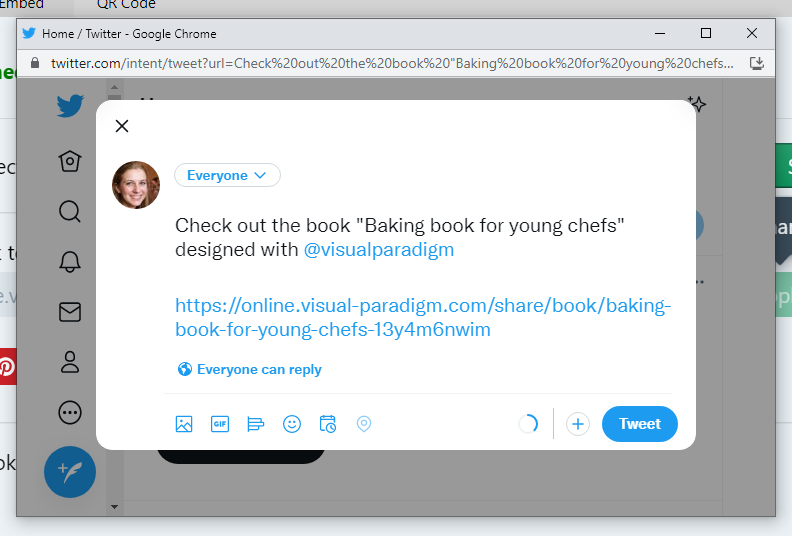
After finishing our flipbook, it is time for us to share it with others! We can share it through email and other social media. In this article, we will show you how to share the flipbook via X! https://www.youtube.com/watch?v=2nUMmNeF4b0&width=854&height=480 How To Share The Flipbook Via X After publishing the book, you can go to the workspace under "My Books", there are 4 buttons for each of the books, including, Edit, Share, Setting and More. Click " Share ", then you will see the following browser. In stead of sharing through URL and email, you can…
continue reading →
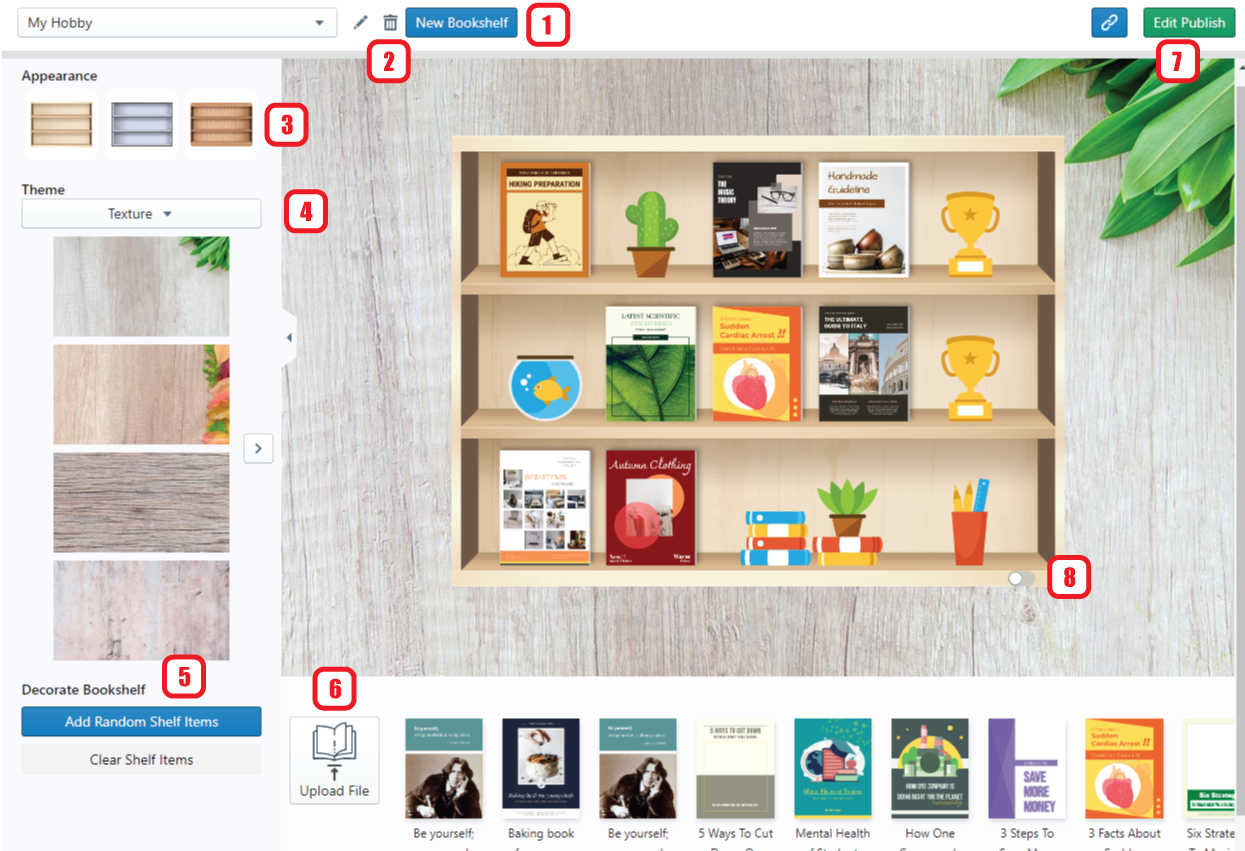
After creating some flipbooks, we need a bookshelf to display them well! You can now do it on Fliplify. by managing the bookshelf and adding decorations, you can share your works with others in an interesting way! https://www.youtube.com/watch?v=_0UanKxrHQg&width=854&height=480 How To Manage Your Bookshelf Create A Bookshelf First of all, you need to create a new bookshelf. By clicking " New Bookshelf" under My Bookshelf, a new bookshelf is created and you can then start the setting. Setting Of The Bookshelf Rename the bookshelf Deleted the bookshelf Select the appearance of the bookshelf Select…
continue reading →
-
Posted on April 7, 2022
-
/Under Chart
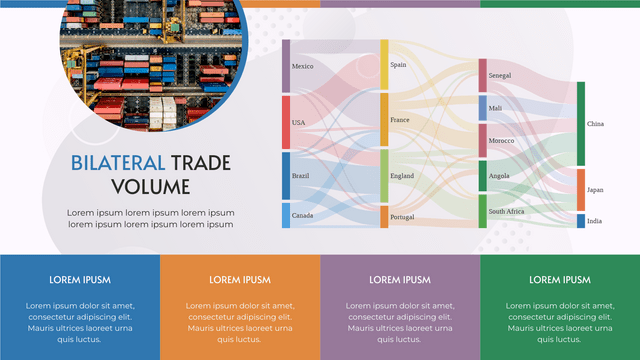
What Is A Sankey Diagram Sankey diagram is a type of data visualization that shows the flow of data or information through a system. It uses a series of arrows or lines of varying widths to represent the amount of data flowing from one point to another. Sankey diagram is usually used to show different data flow. For example, U.S. Energy Information Administration (EIA) use Sankey Diagram to show the production and consumption of energy in the annual report. How To Create A Sankey Diagram https://www.youtube.com/watch?v=IYmxx0R4MTk&width=854&height=480 Create a Sankey Diagram Awesome Sankey Diagram…
continue reading →
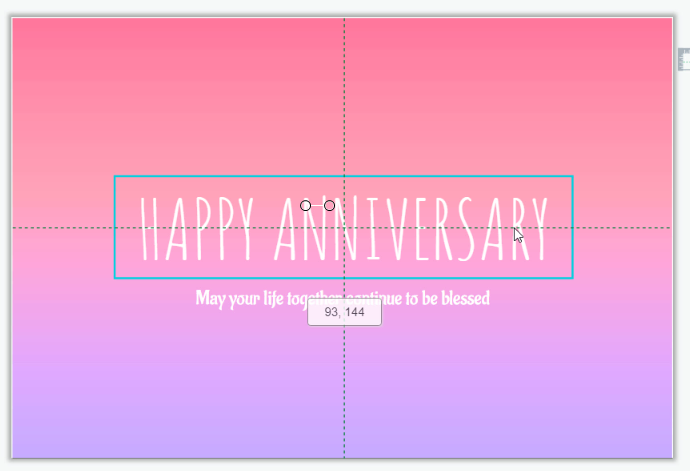
When editing the design, instead of move the elements freely, we sometimes need to move them just vertically or horizontally. There are 2 ways for you to do it easy in the design tool. https://www.youtube.com/watch?v=ZQ9kgzlOfuU&width=854&height=480 How To Move A Shape Only Horizontally / Vertically Hold Shift Key When Moving If you hold the Shift Key and then start moving the element, you will find that its move straightly horizontally or vertically. Moreover, there is no alignment guide on the screen so that you can focusing on the selected shape. Move Along The Alignment…
continue reading →
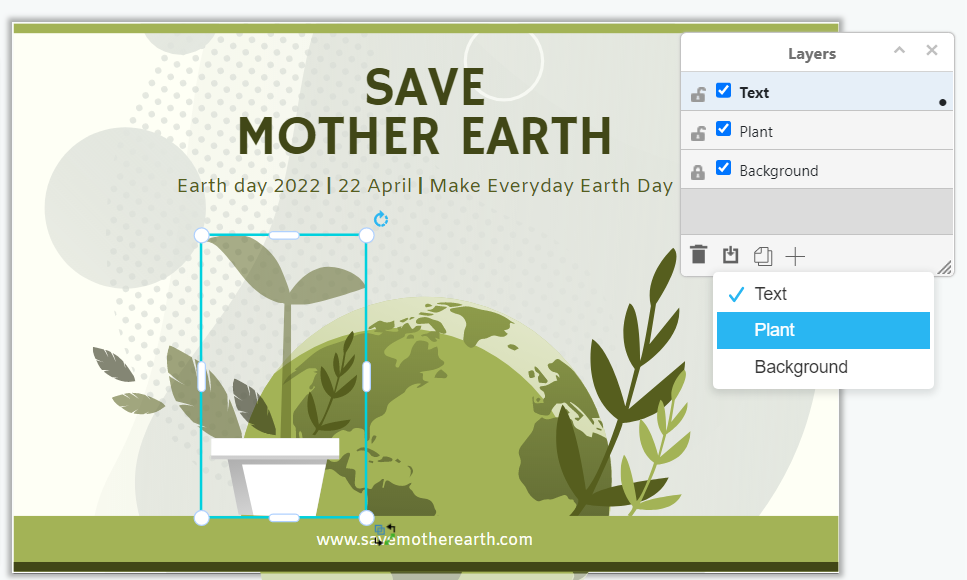
Dividing into different layers is a good may to manage the elements on the work. This article will show you how to do so in the design tool of Visual Paradigm Online. https://www.youtube.com/watch?v=EH5-irePEog&width=854&height=480 How To Move Shapes From One Layer To Another Opening The Layer Panel First of all, we have to open the layer panel. We have 2 ways to do so: Click the View Button -> Click Layers Press [Ctrl + Shift + L] on your keyboard After that, you can see all layers of the design. When we click elements…
continue reading →


