How to pan in a diagram?

How to pan in a diagram?

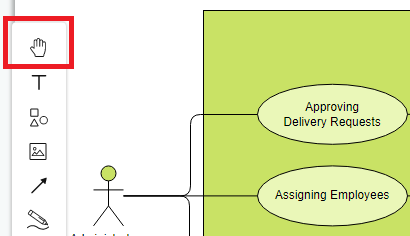
When you are working on a MASSIVE project, you will need look at every aspect in your project. Therefore, it is essential to pan in the canva all the time. In this video, we will be going through the two methods in panning. Method 1 (Click On The Pan Handle):  Click on the "Palm" button on your left panel Casually click on your canva and drag to your desire positon Make sure to "unclick" the "Palm" afterward Method 2 (Press Your Keyboard): Press Ctrl on your keyboard and click on the canva simultaneously…continue reading →
Avoid accidental changes by locking a layer

Avoid accidental changes by locking a layer

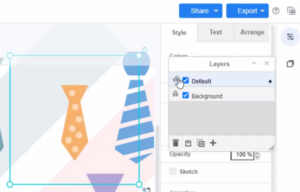
If your design works are organized into different layers, you can try to lock the layer to avoid unintended modifications. https://www.youtube.com/watch?v=ipiY7edjorU&width=854&height=480 Lock layers to prevent changes Locking a layer means you cannot make any changes to it - you can’t add, move, edit, stye or delete the shapes and connectors placed on that layer. When editing your design, you can go to View, Layers to bring up the layer window. Or you can press Ctrl+Shift+L / Cmd+Shift+L to display or hide the layers window. In the Layers window, click on the padlock icon…continue reading →
Replace existing shapes

Replace existing shapes

When editing a diagram in Visual Paradigm, you can replace an element with another one, without re-creating its content. https://www.youtube.com/watch?v=y-8wmF8zCYs&width=854&height=480 Replace a single shape Select a new element from the palette, and drag it over an existing element in your diagram. Hover over the existing shape you want to replace in your diagram until the replace icon appears, then drop your shape to replace it with your selected element. Replace multiple shapes Select all the shapes you want to replace. Select a new element from the palette, and drag it over one of…continue reading →
How to export my work as an image (PNG / JPG)?

How to export my work as an image (PNG / JPG)?

https://www.youtube.com/watch?v=VvaESUIa14o&width=854&height=480   After finishing your designs, you may want to export them in different formats for a particular use. In Visual Paradigm Online, you are allowed to export your design work to a variety of formats. After finishing the design in Visual Paradigm Online, you can save your design in different formats like JPEG, PDF, PNG, or copy it to MS Office as an image. This tutorial will provide you with a fast way to save your designs as JPEGs. With a few clicks, you can save your work with a transparent background…continue reading →
Evenly Distribute The Spacing Between Shapes

Evenly Distribute The Spacing Between Shapes

When listing a number of elements, we may want to evenly distribute the spacing between them. In this article, we will show you how to do so by the function in VP Online. https://www.youtube.com/watch?v=yCgSx2gnMTs&width=854&height=480 How To Evenly Distribute The Spacing Between Shapes Select the shapes we can select the shapes by rubber ban / hold "Shift" and select them one by one. Choose to evenly distribute vertically / horizontally On the tool at the top of the editor, there is a button called "Distributed...", and you will see 2 buttons after clicking it,…continue reading →
How to export a portion of my page as an image?

How to export a portion of my page as an image?

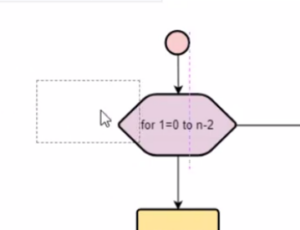
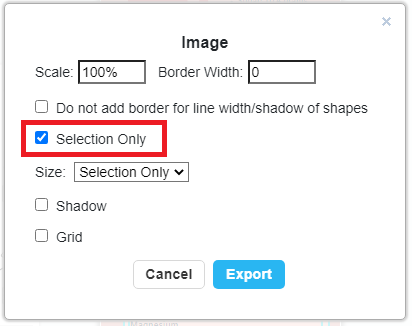
Maybe you have created a big project but sometimes you just want to export partially for your own references. Here is a tutorial video that allows your to understand how to how to do that in few steps!!! The steps are as follow; Select the portion by dragging your mouse of over that area Click export and chose "save as JPEG" Chose the "selection only" tickbox and click export Chose your location to retrieve file and click download Would you like to try out these functions now? They are full with simplicity!!!  Below…continue reading →
Quickly apply sketch style

Quickly apply sketch style

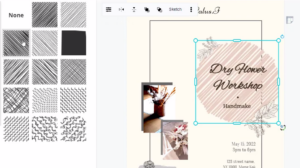
In Visual Paradigm Online, you can apply different sketch effects to all the artworks in our library for you to create something awesome design. This video can show you how to quickly apply sketch style in your design. https://www.youtube.com/watch?v=dZySlhsespM&width=854&height=480 Quickly apply sketch style Turn your shapes into pencil sketch drawings. There are different patterns to give you choice and apply to your design. Adjust each design with our visual design tool to get the perfect effect to match your design. When editing your design, you can select an element, and press Sketch from…continue reading →
Add shadow to shapes, connectors, and text

Add shadow to shapes, connectors, and text

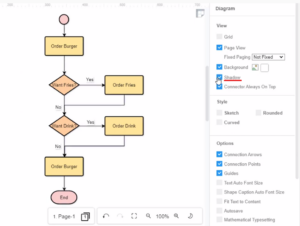
In Visual Paradigm Online, you can easily customize your chart to match your company's brand colors and fonts or choose the color that matches your topic. Customize everything, from the fonts and colors to the position of titles and legends in a few clicks. This video will show you how to apply shadow to shapes, connectors, and text of your chart. https://www.youtube.com/watch?v=c2pFhPj2D4I&width=854&height=480 Add shadow to all shapes, connectors, and text Make sure nothing is selected in your diagram so you can see the Diagram tab in the format panel. Click the "Shadow" option…continue reading →
Combine shapes

Combine shapes

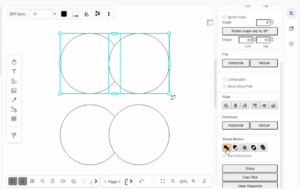
Boolean operations can make two or more shapes interact to produce different shapes. Compound shapes are the result of so-called Boolean operations. Results are fully editable at all times. All shapes will retain their special properties, such as rounded corners or sides. Compound shapes are also known as Boolean groups. Visual Paradigm Online graphic editor provides powerful features that let you reshape objects. We support combine, substract, intersect, exclude and divide shapes. You can customize the shape that you want. This video will show you how to combine shapes. https://www.youtube.com/watch?v=hy0bwDvZBjY&width=854&height=480 Combine shapes When…continue reading →
Hide or display guidelines when moving shapes

Hide or display guidelines when moving shapes

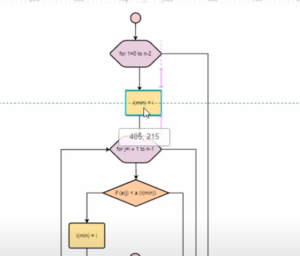
When moving elements in your design, by default we will show the alignment guides, to indicate its alignment with surrounding elements. This video will show you how to hide or display guidelines when moving shapes. https://www.youtube.com/watch?v=Rzwh3AJPs4o&width=854&height=480 Guides are blue lines that appear when you are moving a shape or group of shapes. Use them to help you line up a shape with other shapes that are on the drawing canvas. They are enabled by default. When you are arranging several shapes horizontally or vertically, additional guidelines will appear to help you space them…continue reading →